Microgreens ABC
Que son los microgreens?
Los microgreens son verduras de hoja verde que generalmente se cultivan solo una o dos semanas., untill the stage of cotyledon leaves have developed or first set of true leaves. Son realmente fáciles de cultivar incluso para un principiante y no requieren mucho.
Basically you need some tray/dish with some kind of medium from soil to even just piece of paper and water. Also you need the seeds and light.
Growing radish microgreens in a week!
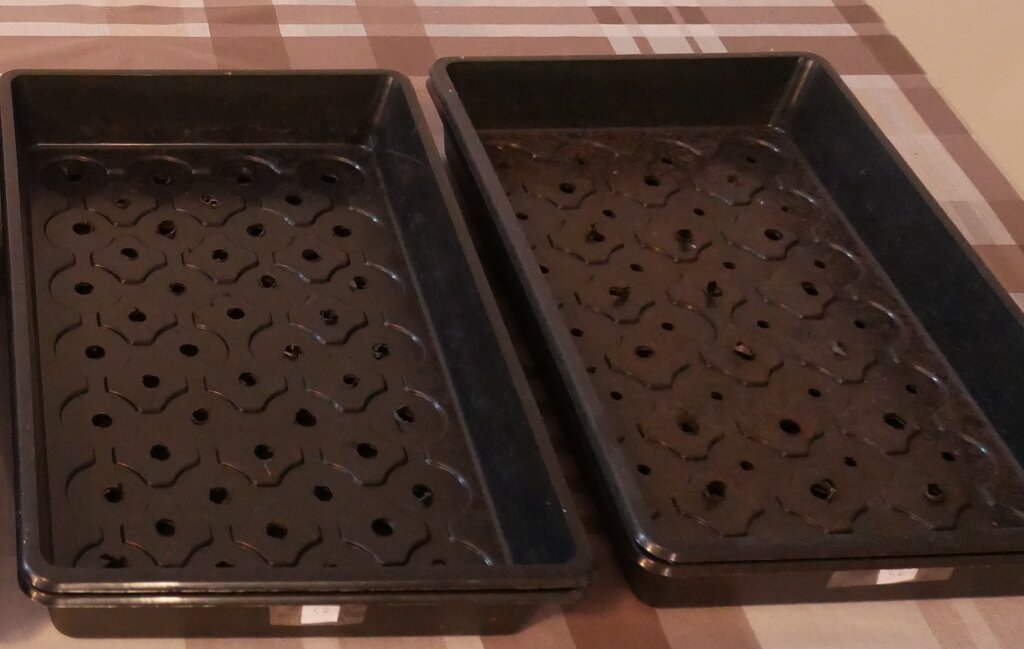
Here’s an example grow with the radish. I’m using double black tray with one on top with holes and bottum tray without holes, for watering purposes.
As of medium I use coco coir, which has very nice characteristic of water retention, so its actually very hard to dry them out and it has worked very well for me. You only need layer 2cm of coco coir. Make sure the coco coir is evenly spread and damp, there should be no pooling of water. Spread the seeds evenly as you can across the growing medium and give light spray of water.
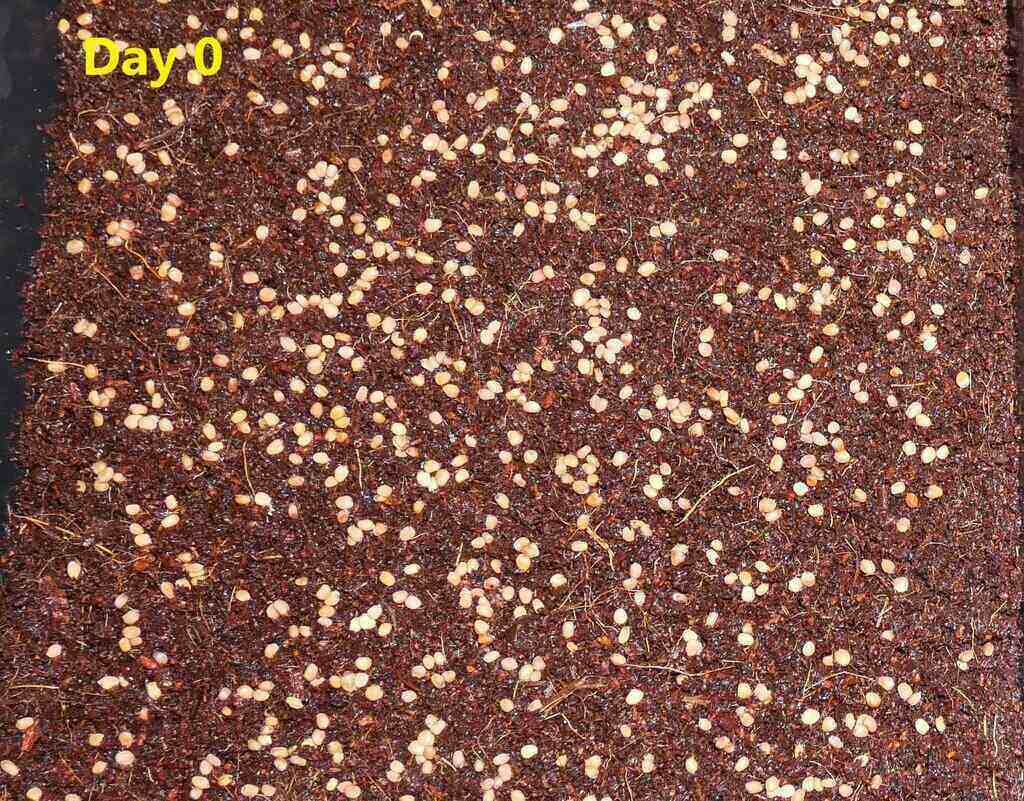
Now I cover whole thing with another tray so the seeds are in dark and have light pressure on them. Helps with the speed of germination and the first radicals to figure out the orientation.
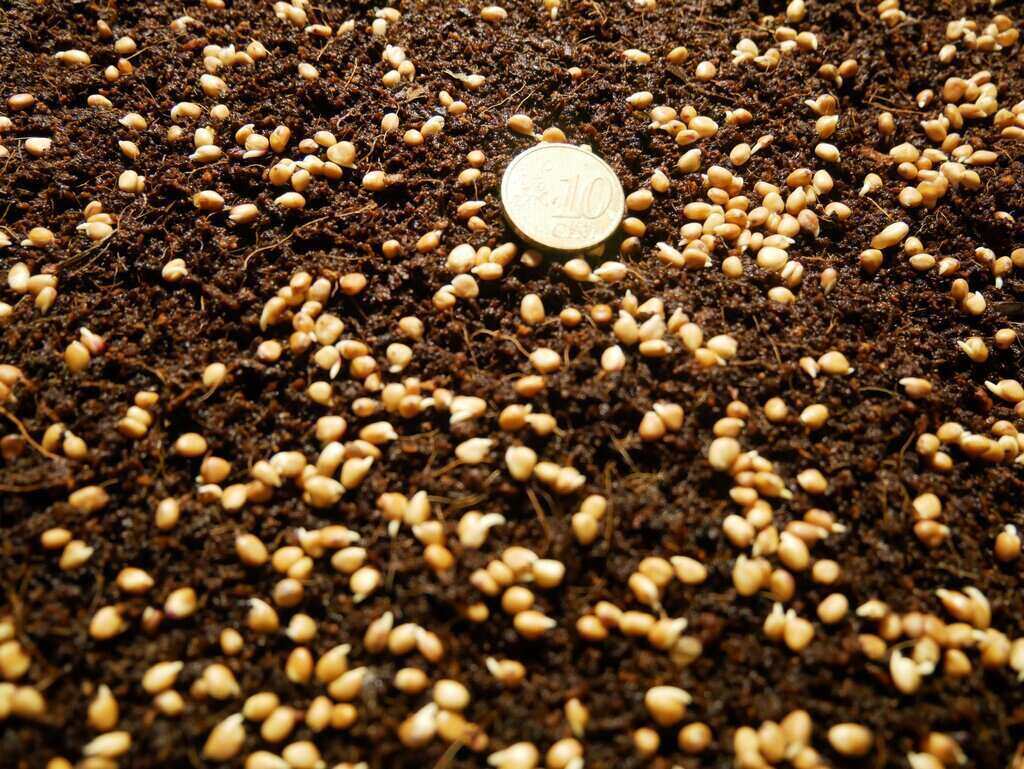
After a day first radicals are starting to poke out already! Just give them light mist from spray bottle to keep them moist. Some seeds like Cress or Chia are mucilaginous and develop slime kind of substance around them.
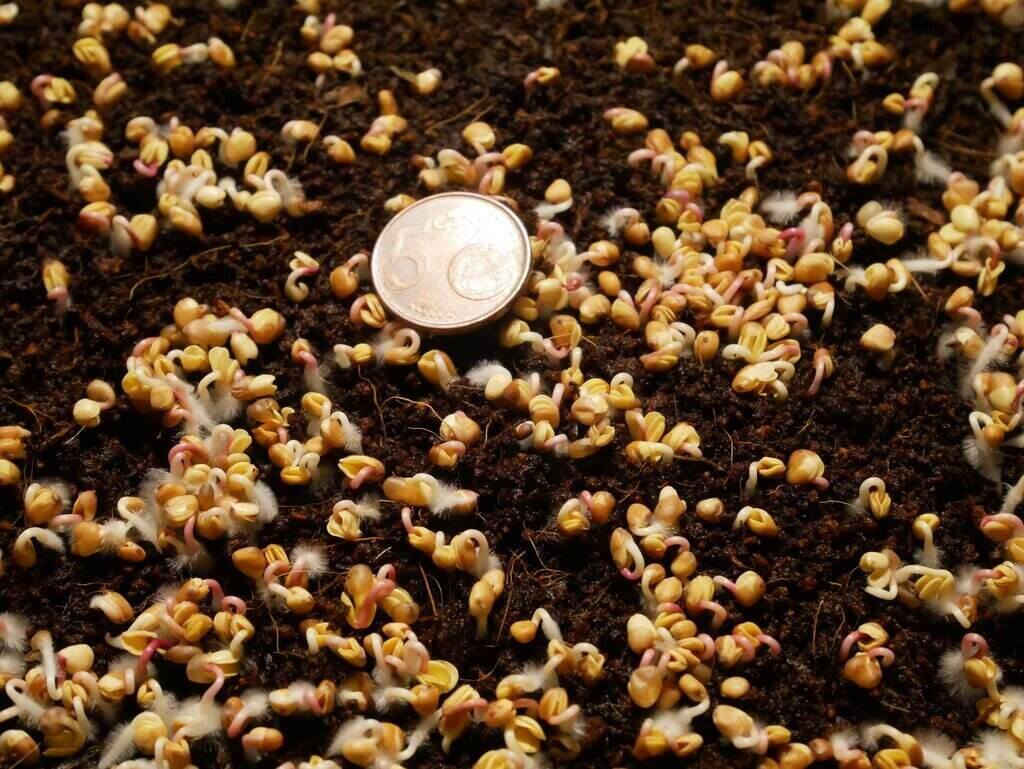
Another day, and more development! Small white hairs around seeds is not mold, but root hair with which the plant absorb water through osmosis.
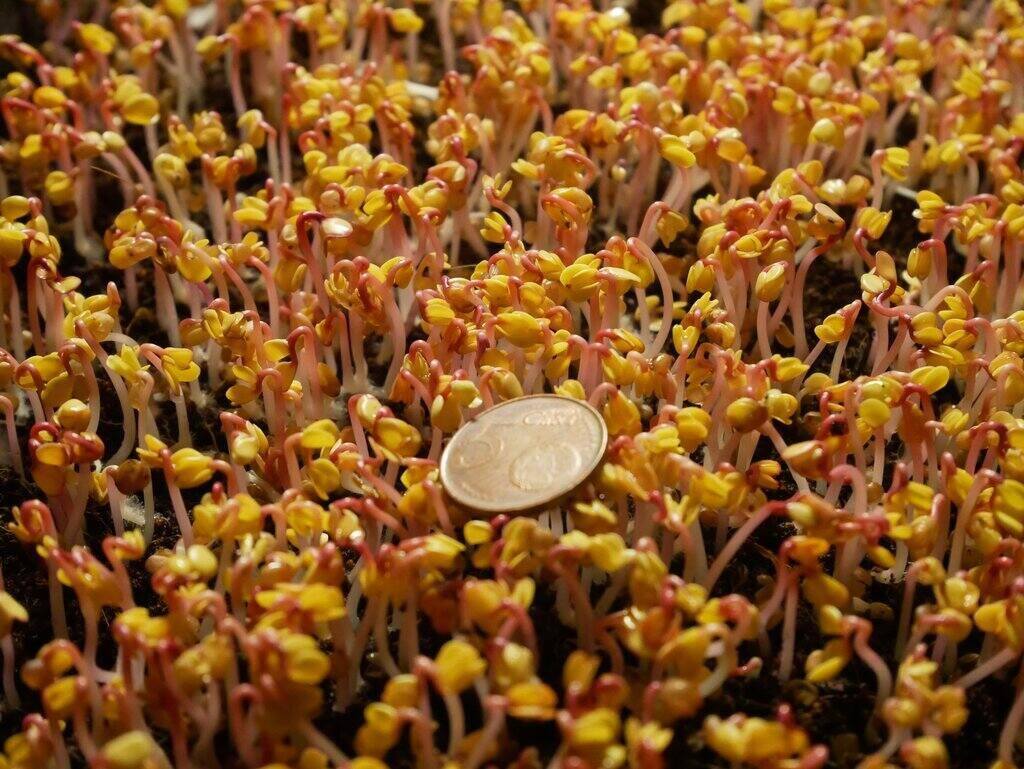
Here we can see actual vertical growth. And these little things are strong! My sunflower seedlings have no problem lifting even 5kg. But this also means we can flip the top tray, so that they can more easily grow lenght. We want to keep them still in dark for the reason of that we actually want them to grow in lenght, which helps the harvest later on.
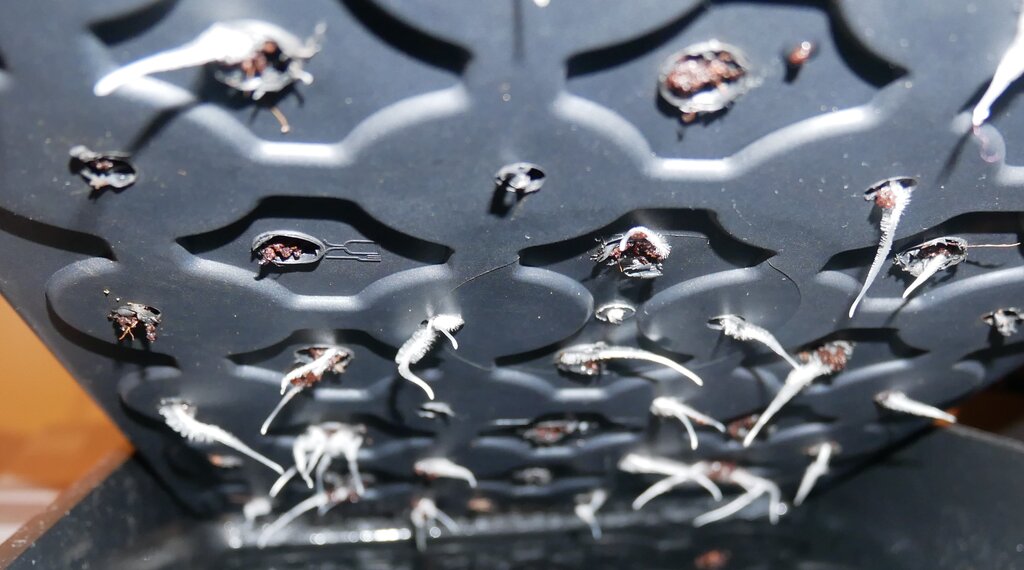
First roots are also poiking through, which means we can start watering the radish from the bottom and let the suirface part of the plants to get drier, which helps to keep them mold free. Additionally you can use nutrient solution (NPK) for watering and you can also use light hydrogen perocxide solution to further prevent mold. This more important for microgreens with longer germination times, quick one like radish is most likely fine even without.
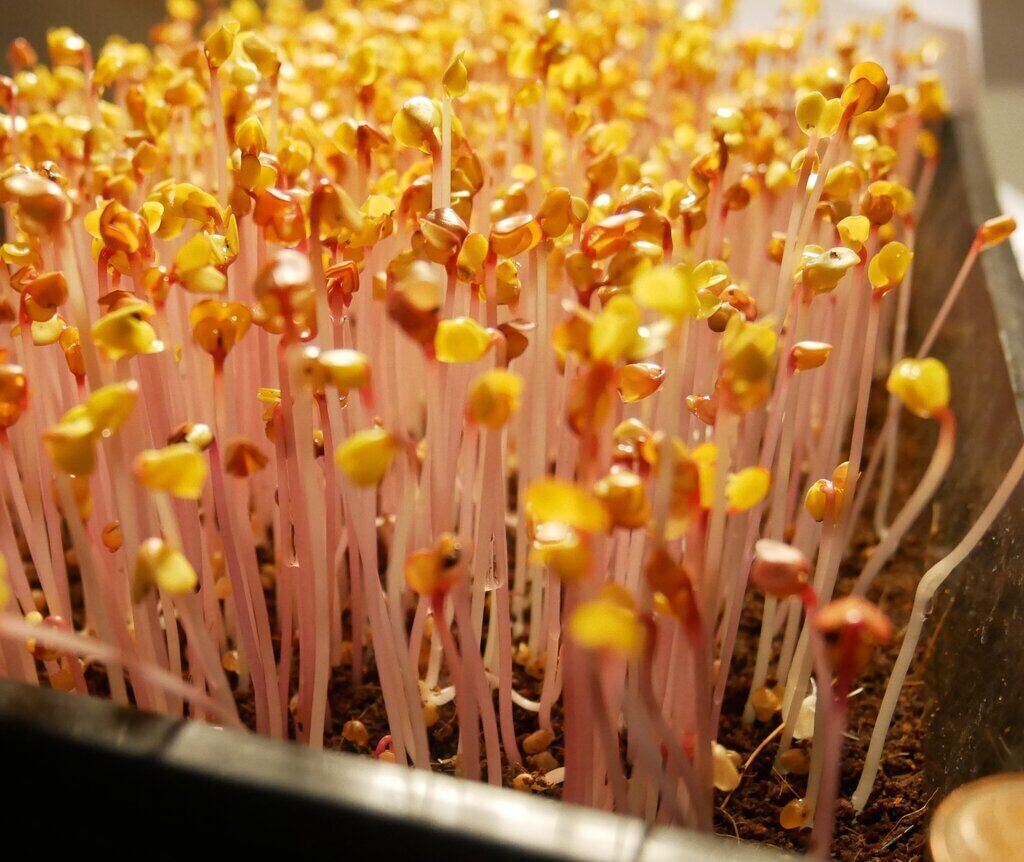
Now it starts to look like correct height. Tomorrow we shall introduce it to the light and get the photosynthesis started. You can use either artificial light or daylight, or combination of both. However don’t expose them to the direct strong sunlight and short winter days are not really enough for the light by themselves. I used for them 150W worth of LED lights, which mostly are blue and red as plants don’t actually use all the wavelenghts of light.
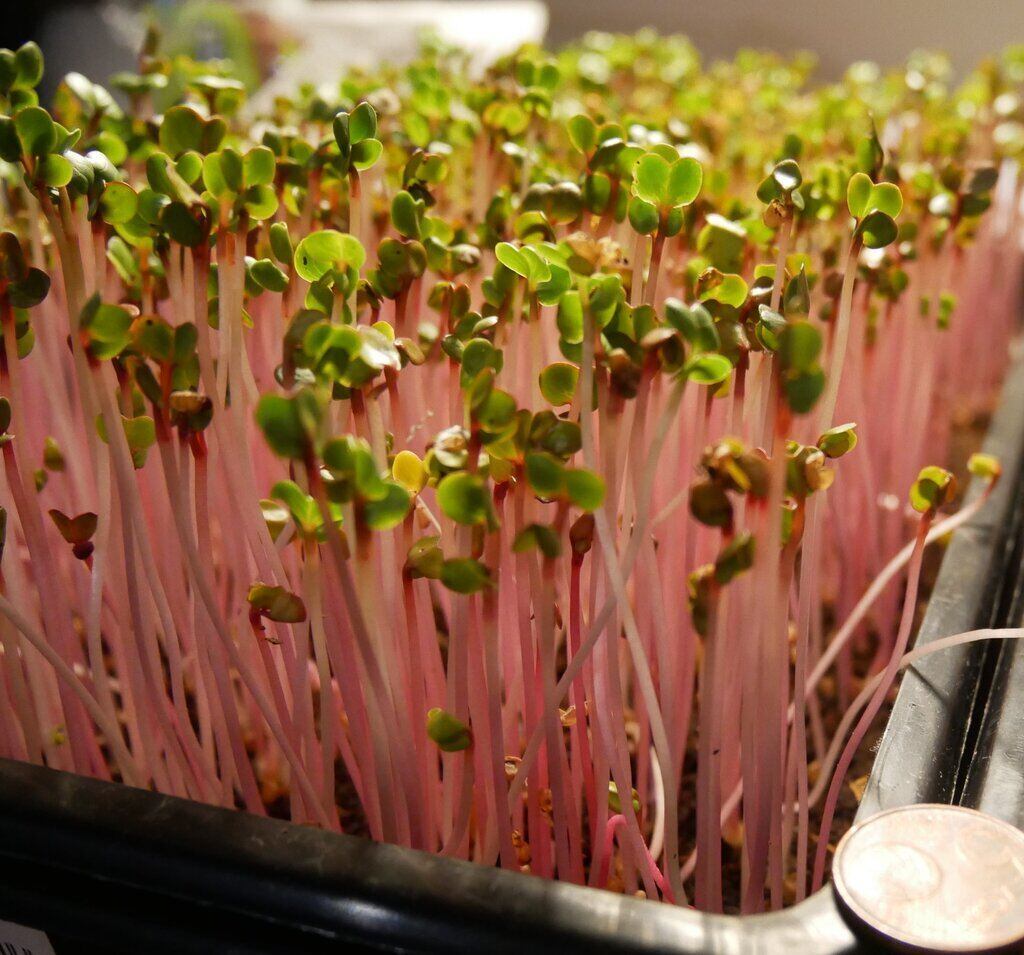
Light means green colour, and it happens really quick. We’re actually getting close to harvest already. That was quick!
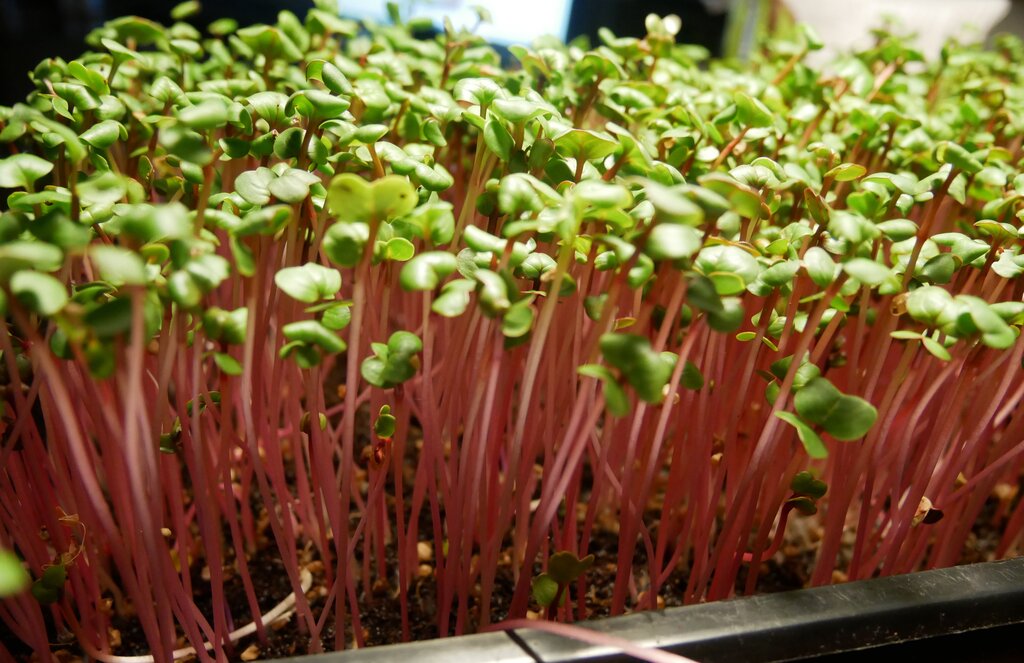
Almost there! All those lovely pink stems. Don’t give them more water for last 12h, this makes them less wet at harvest, which means drier product that lasts at least a week in a fridge.
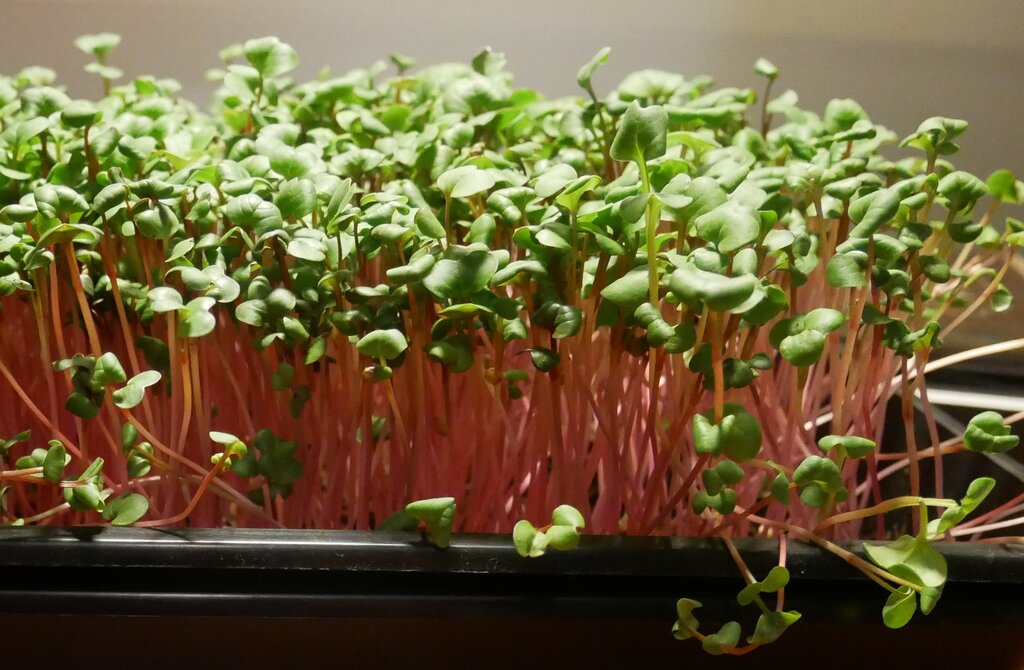
Here we go, ready for harvest. Ones on the side are starting to already fall over, good sign to start the harvest.
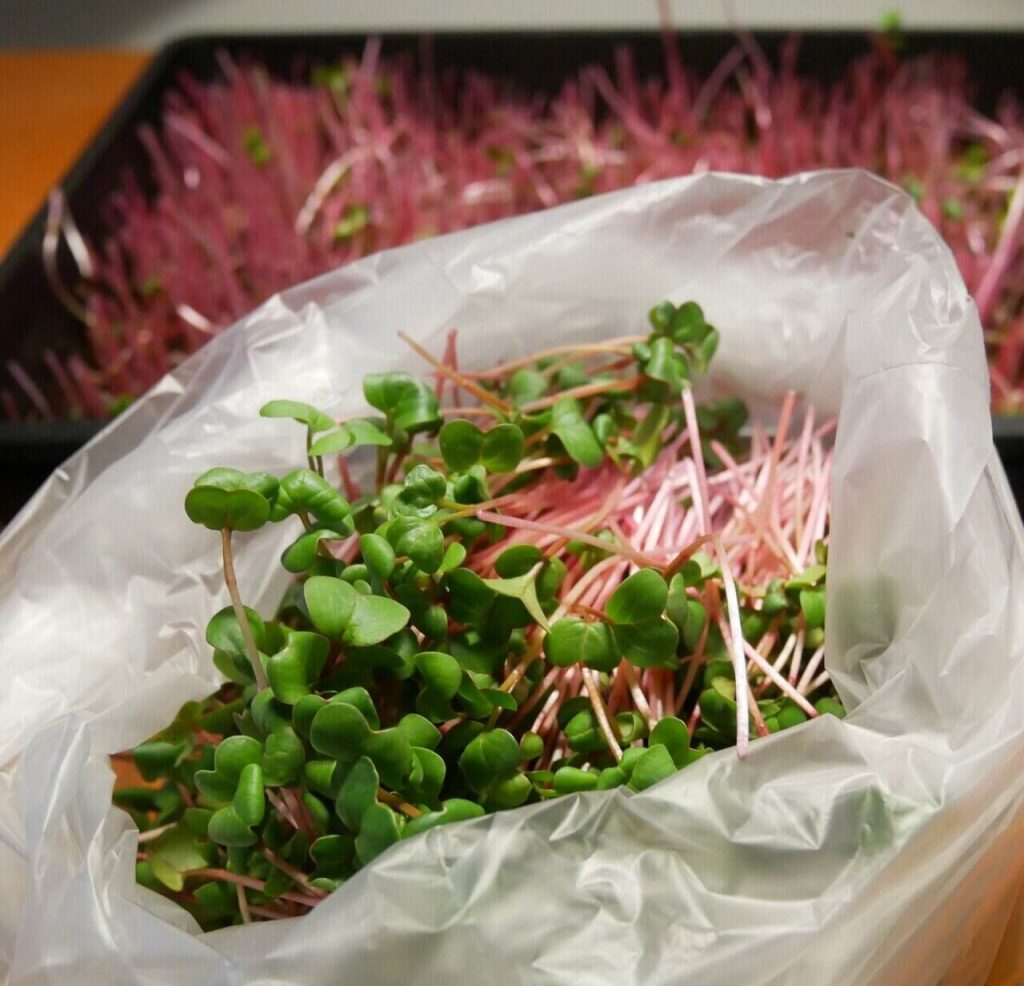
All done! Nice bag of goodies to use in smoothies, garnishing or part of salad. Microgreens tend to have strong flavors, so use with caution.
Bon Appétit!