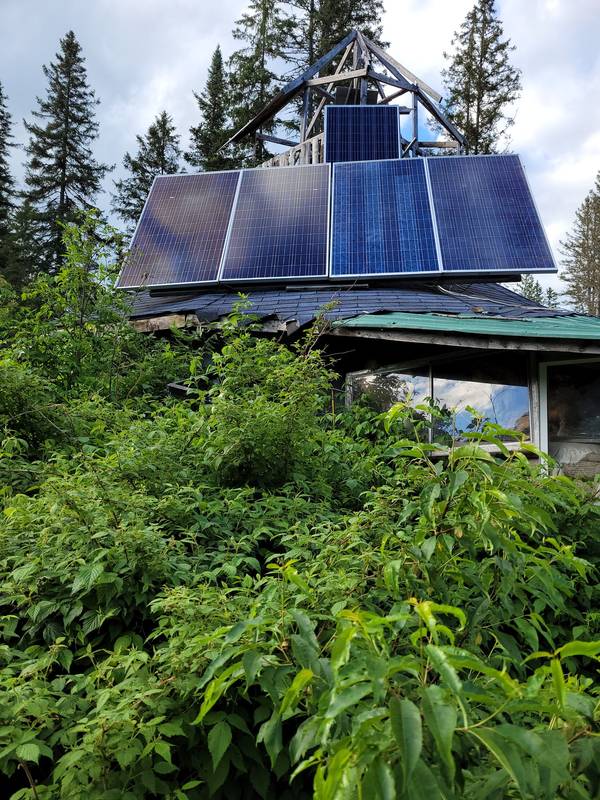
Simply Greens Homestead
Simply Greens Homestead!
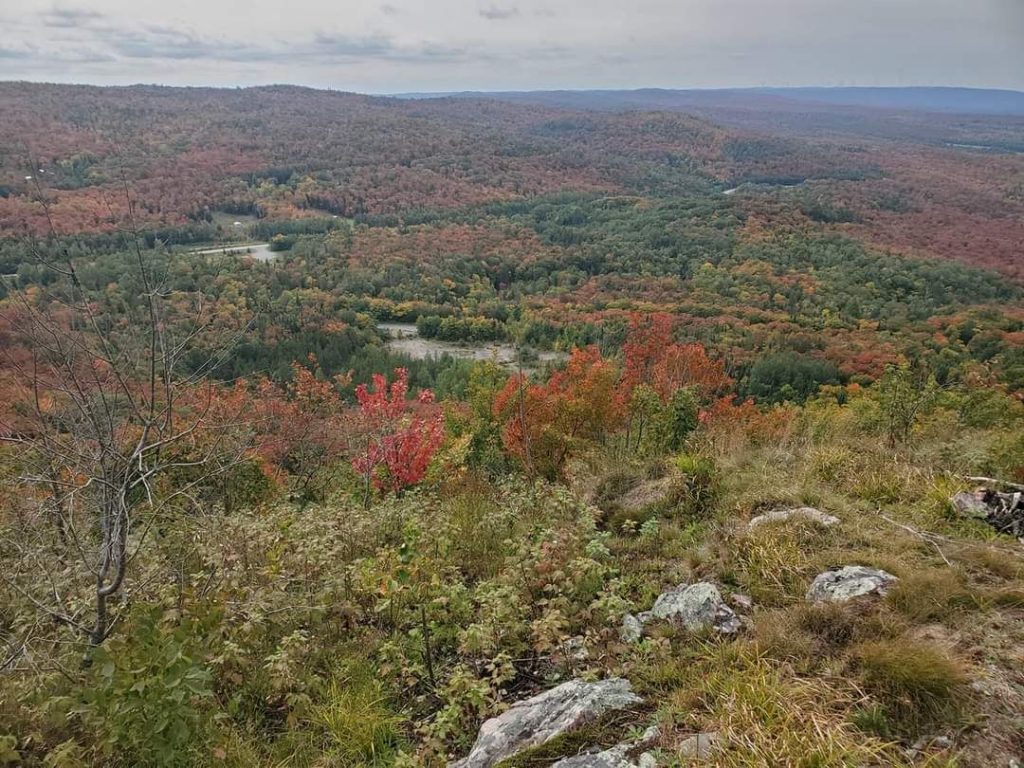
Location: Eastern Canada
This Project is realized by a OffGridEnclave Community member.
Special thanks to Halizza for providing Pics and Infos to present this as Project.
Welcome to Simply Greens Homestead! My fiance and I moved across Canada, to this property in April 2023. We left the corporate lifestyle to pursue a “simpler” life. Although Off-gridding is far from simple, It’s the best choice we’ve made. We are learning each and every day, and with the help of the OffGridEnclave, We have been able to surpass our year one goals, and continue to improve each and every day. If you have any questions reach out to me on the discord!
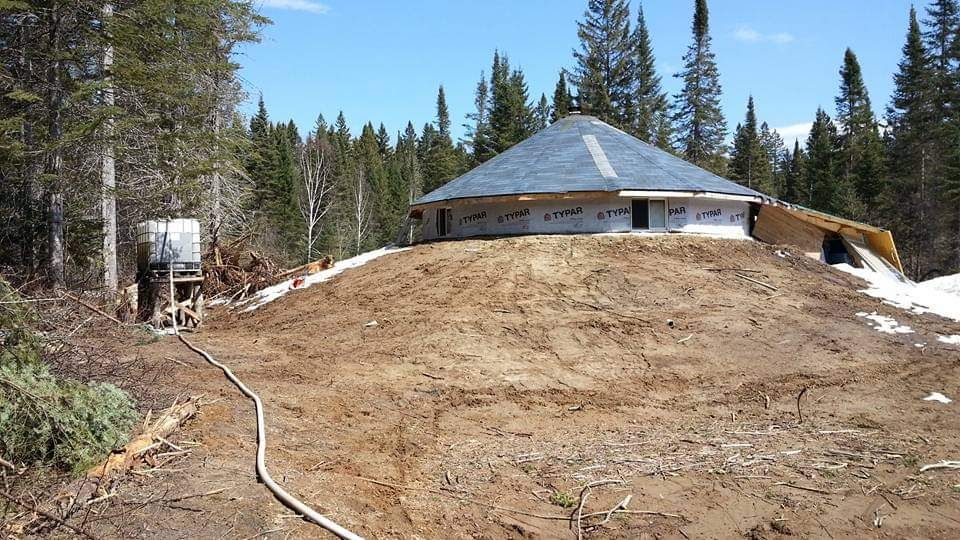
Size of land : ~ 80 Acres(32 Hectares)
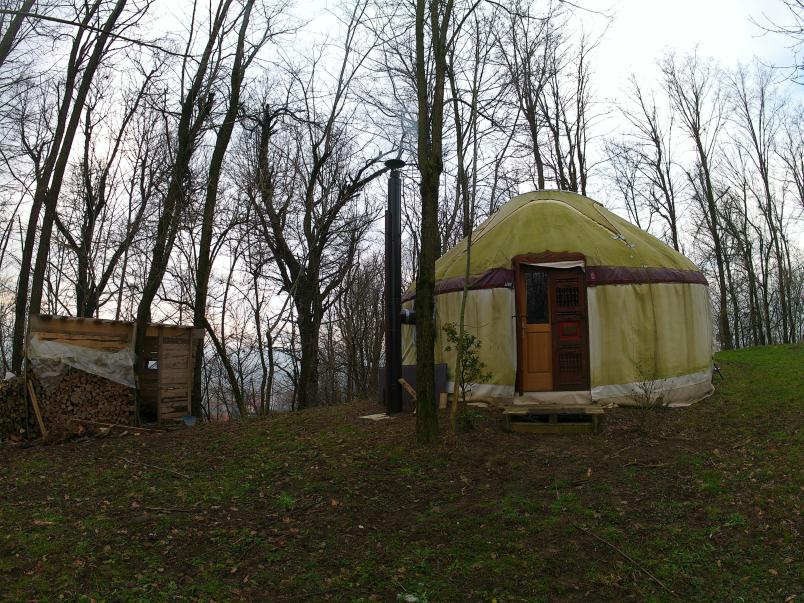
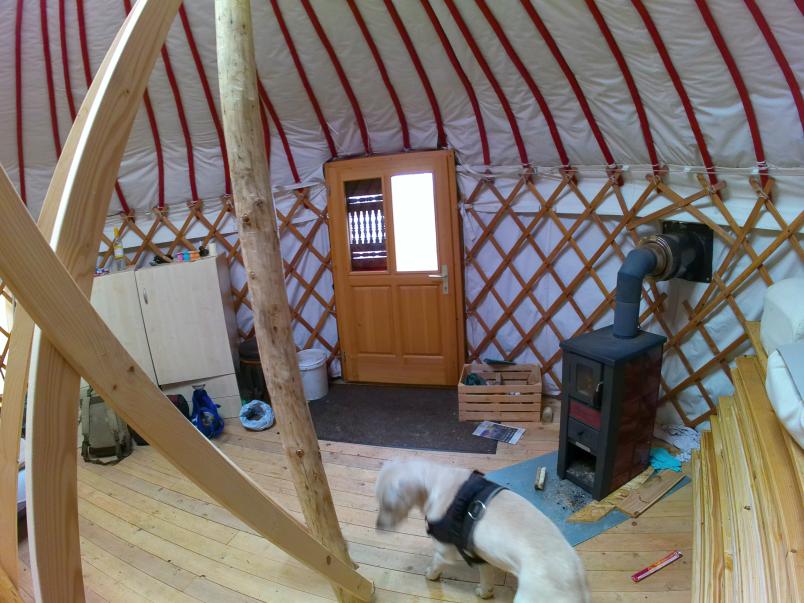
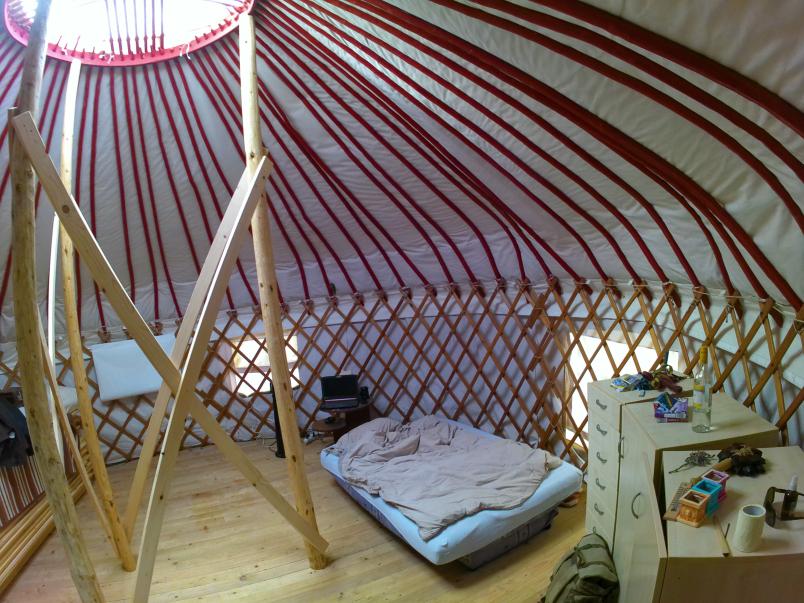
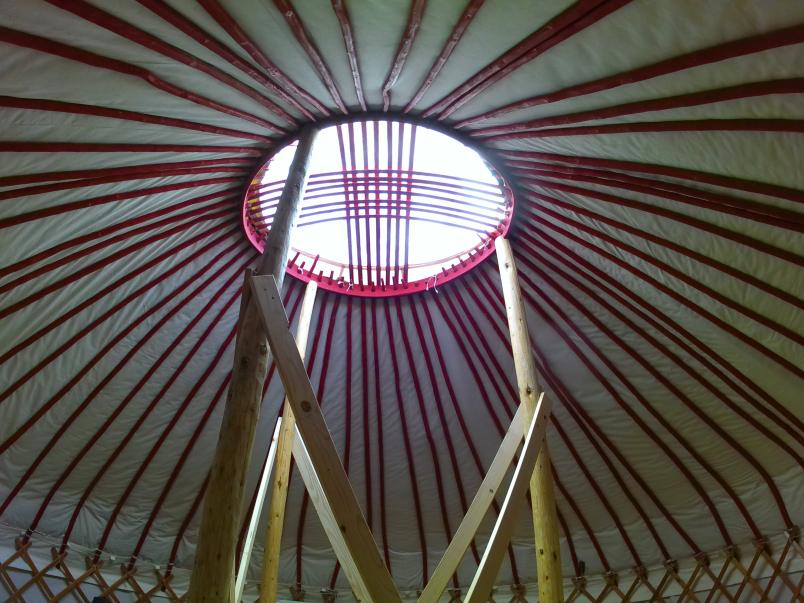
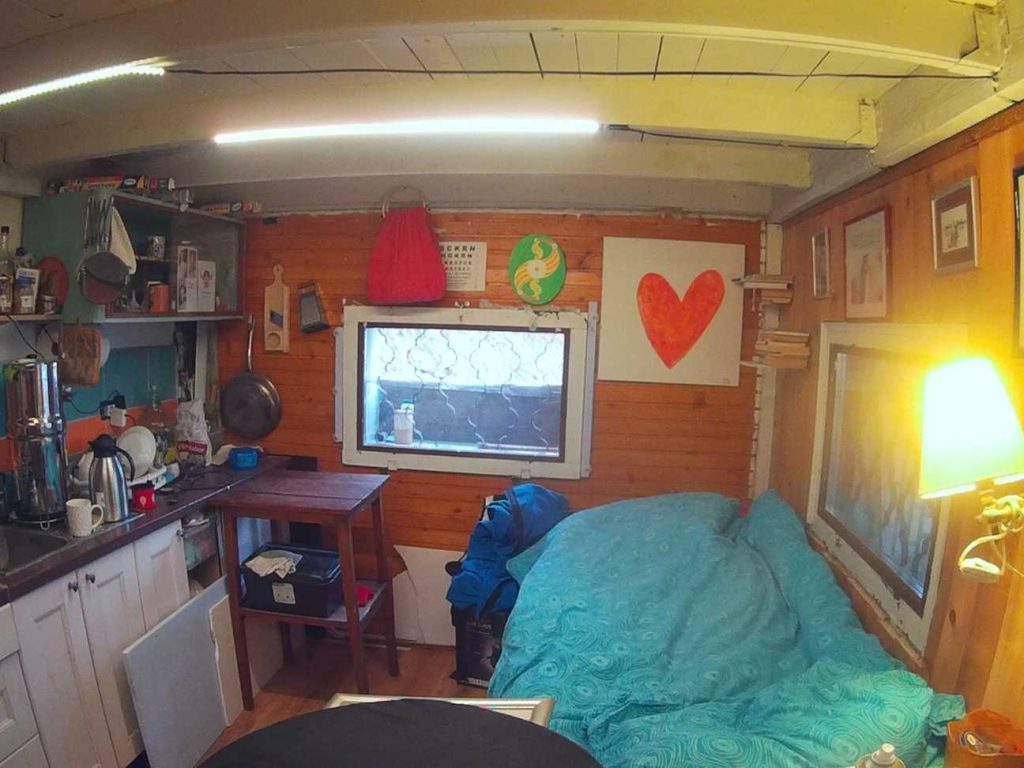
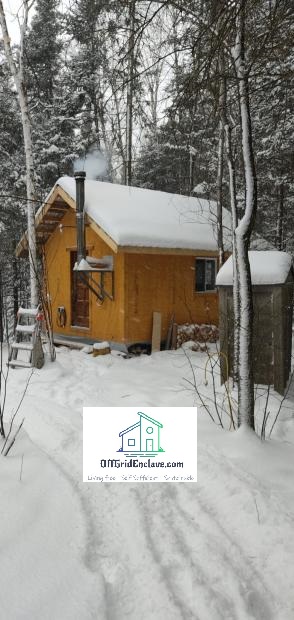
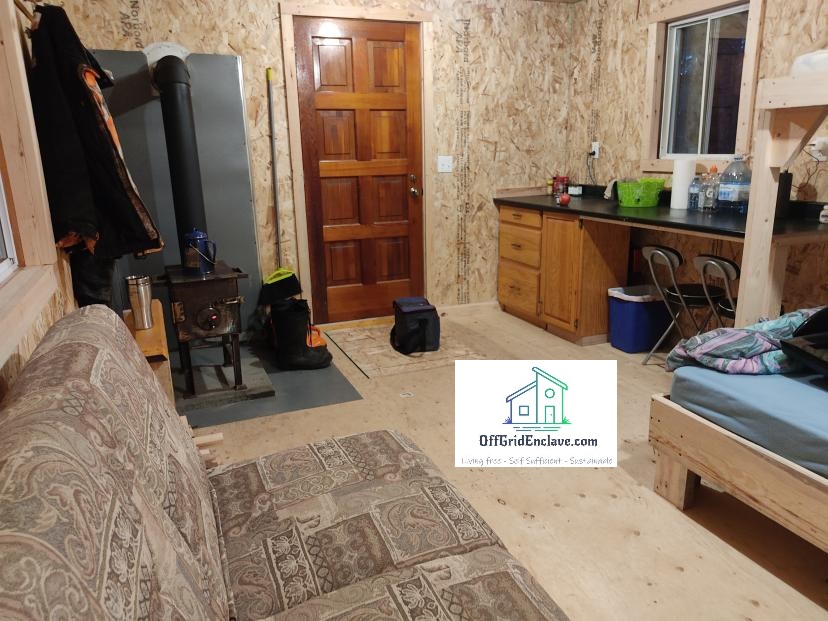
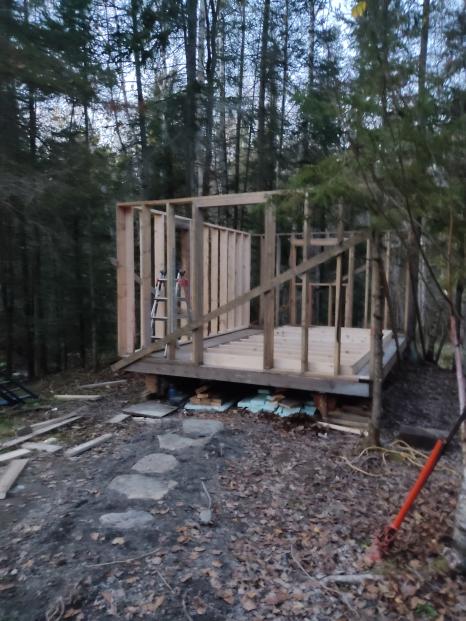
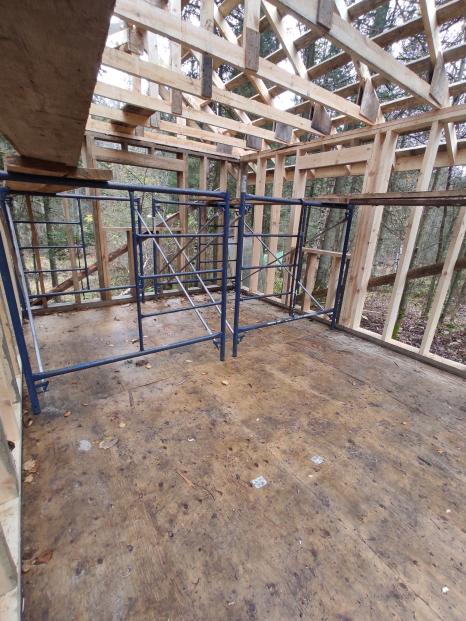
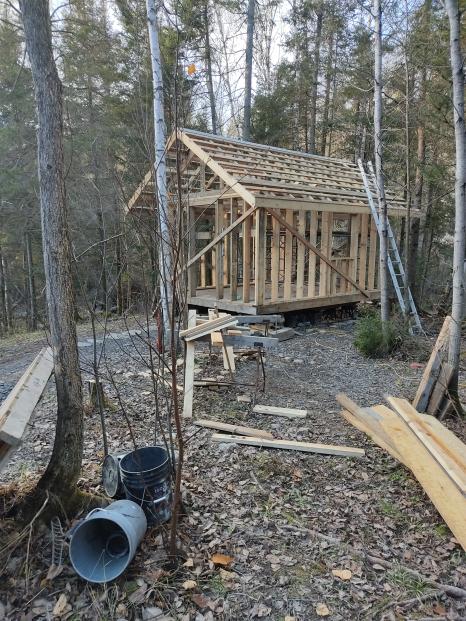
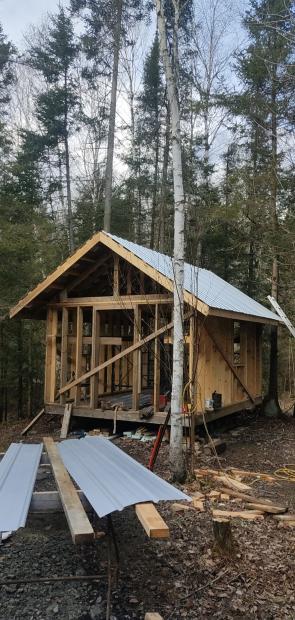
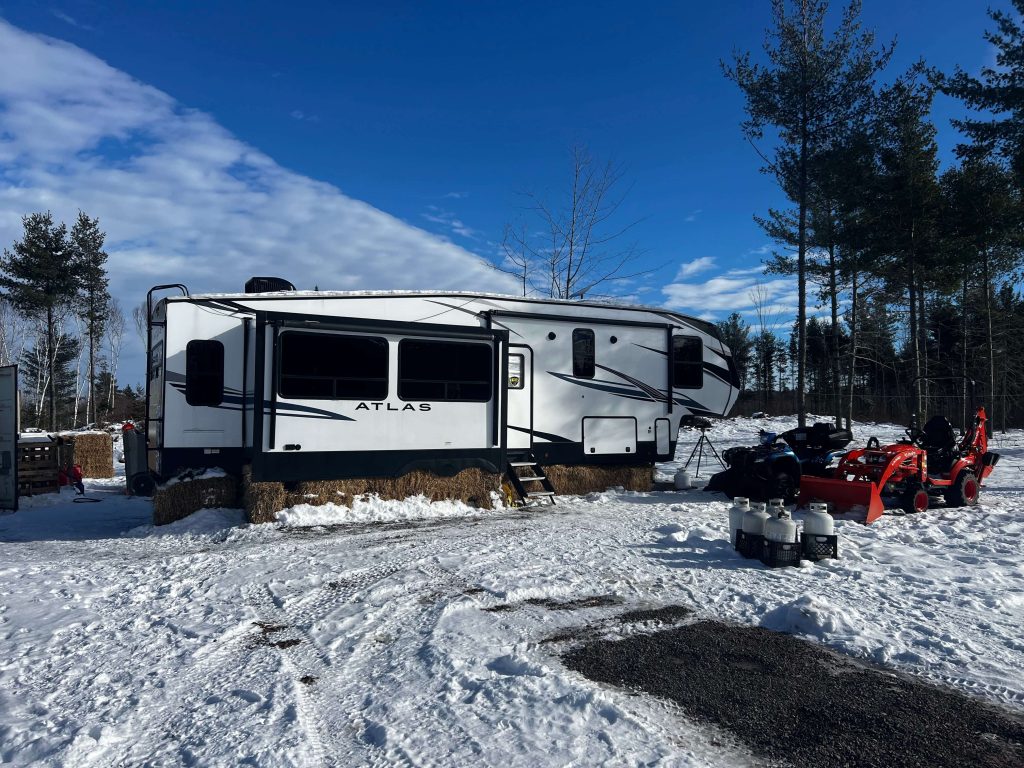
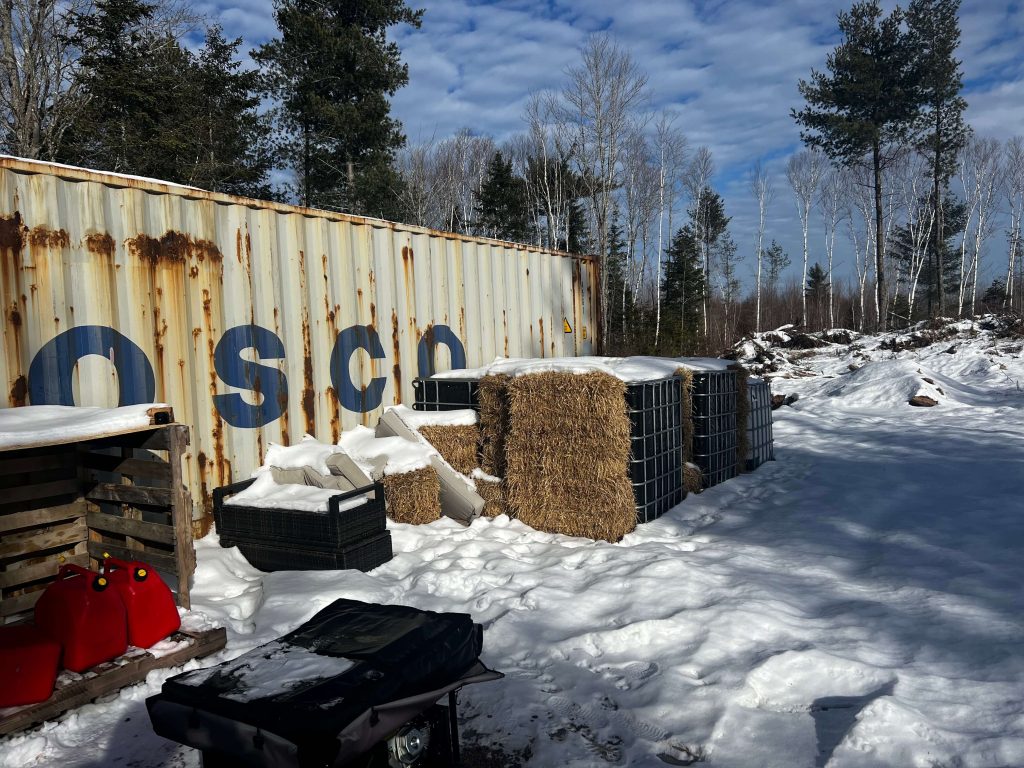
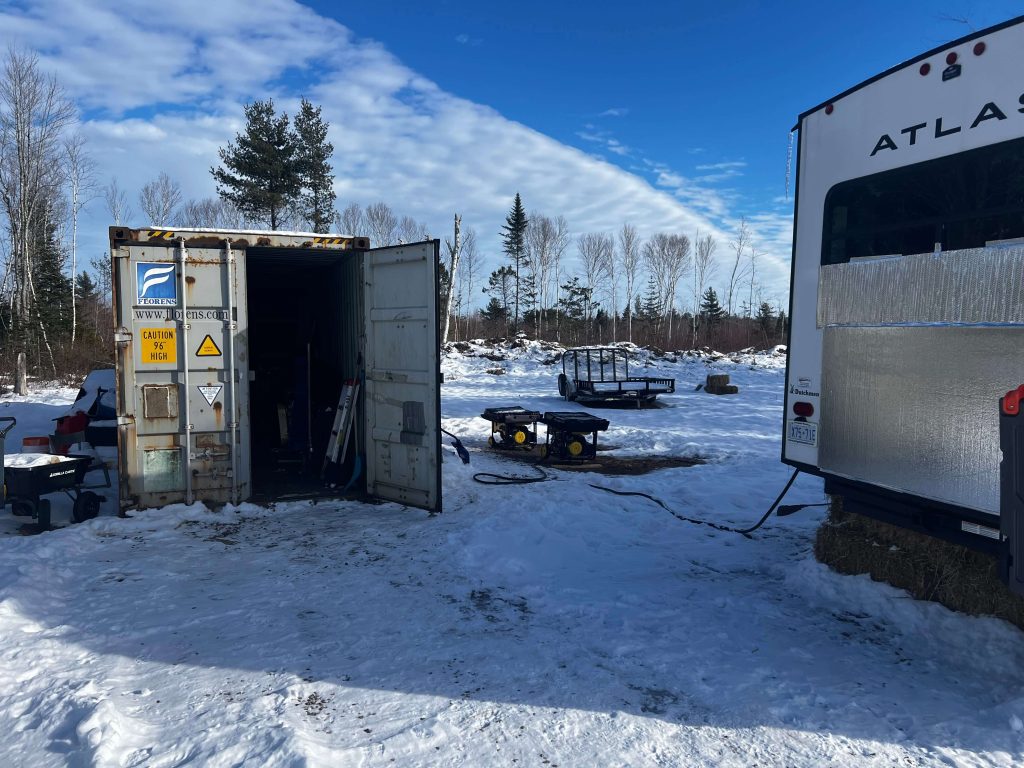
Structure size: ~ 40ft fifth wheel RV.
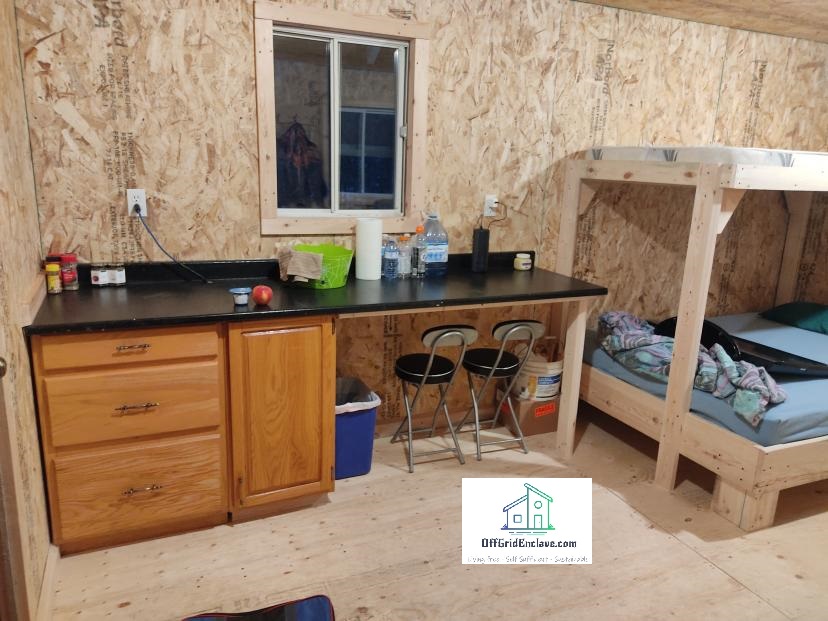
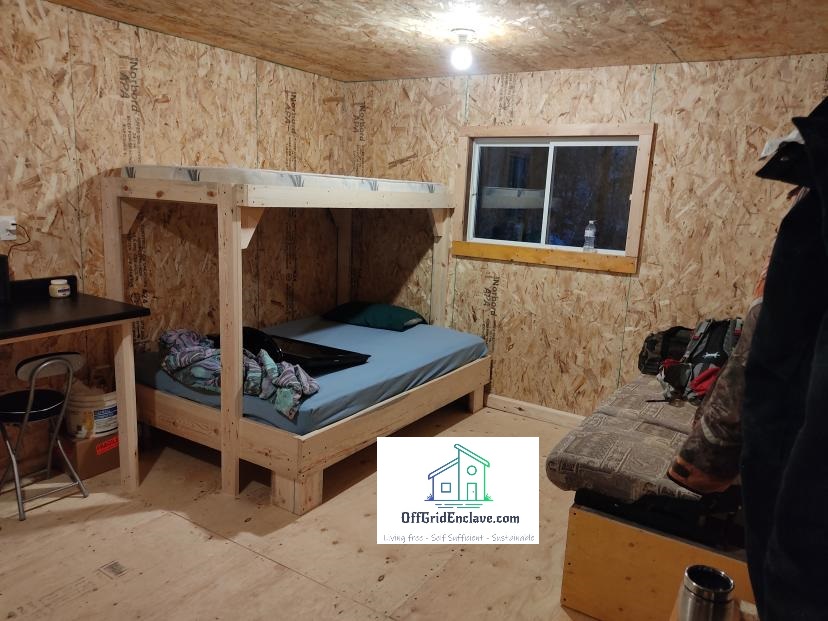
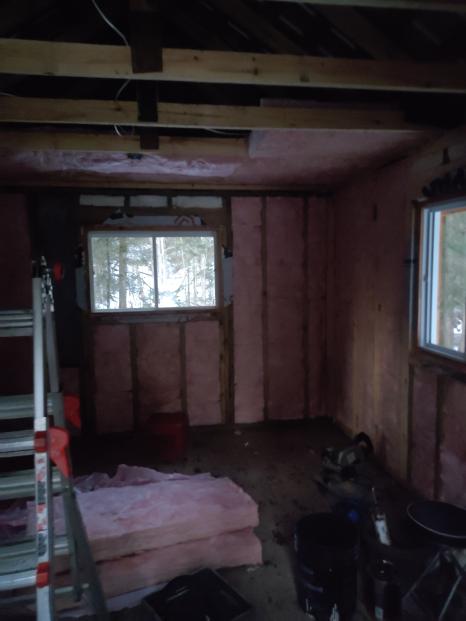
Living space: ~390 ft²
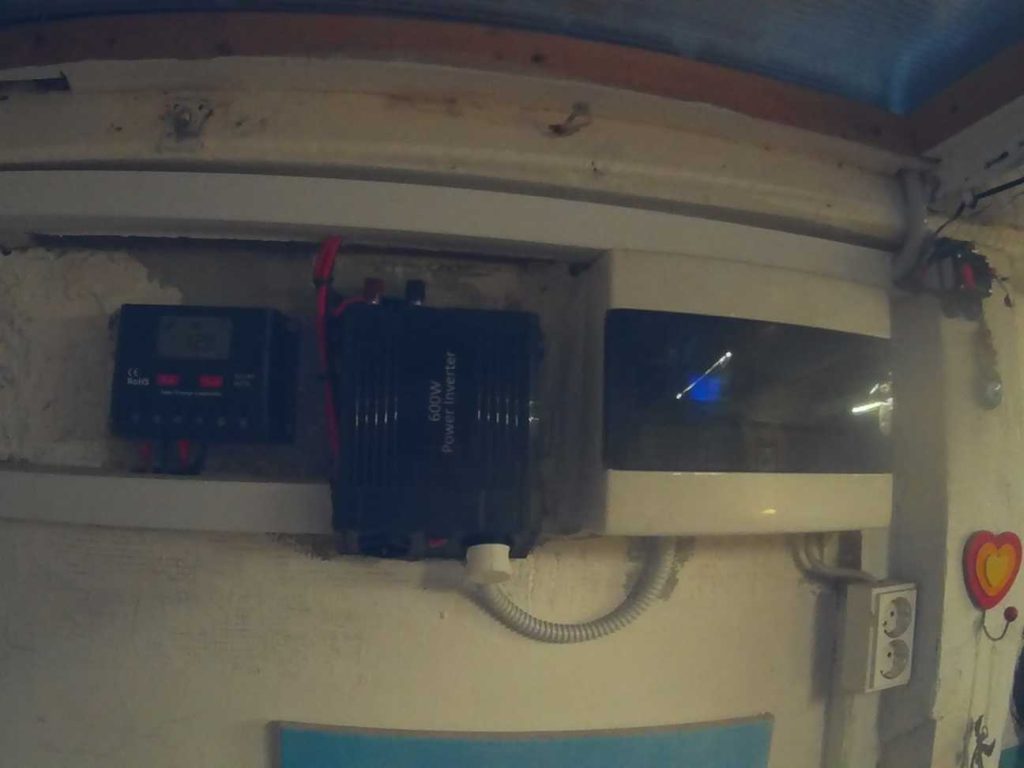
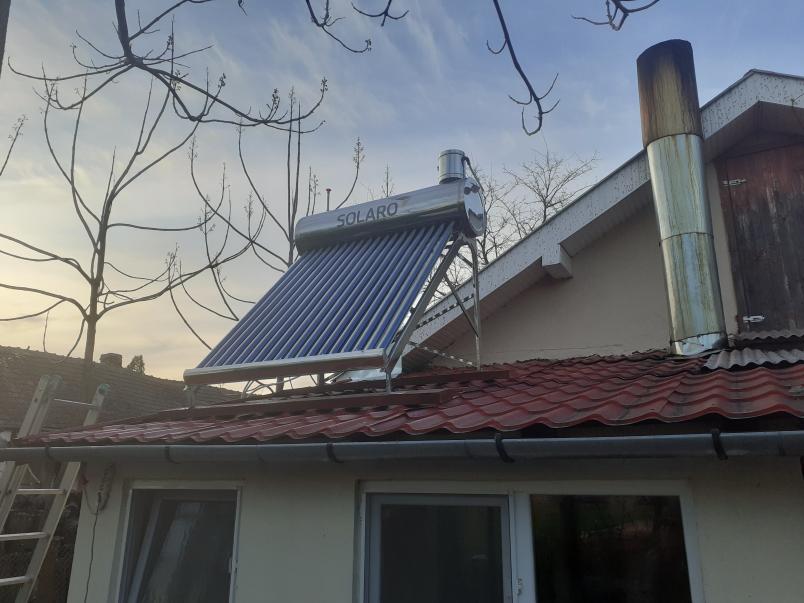
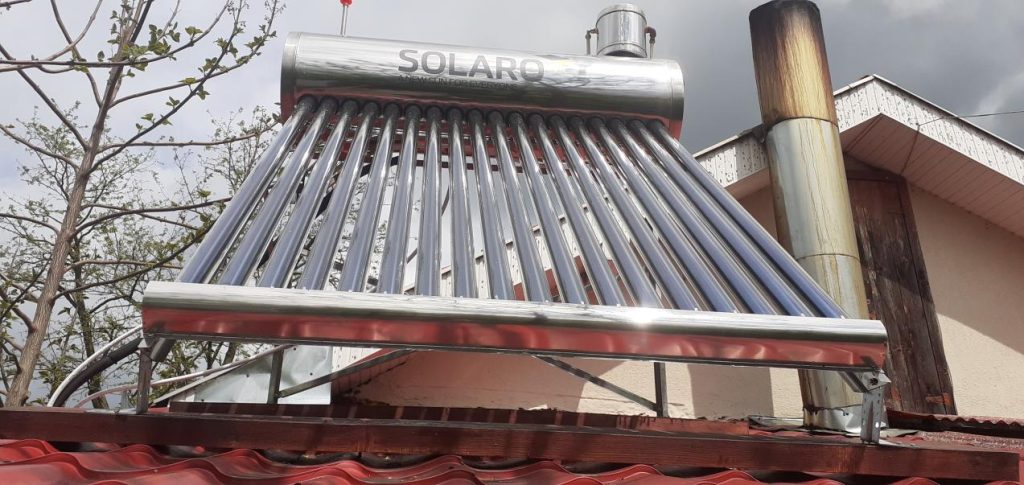
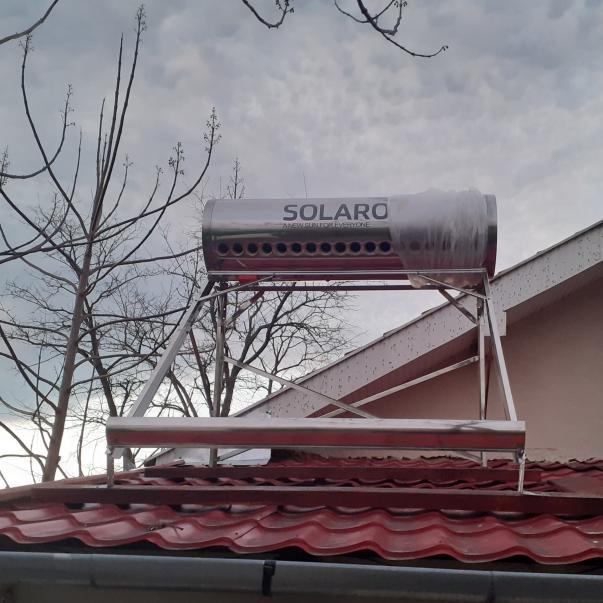
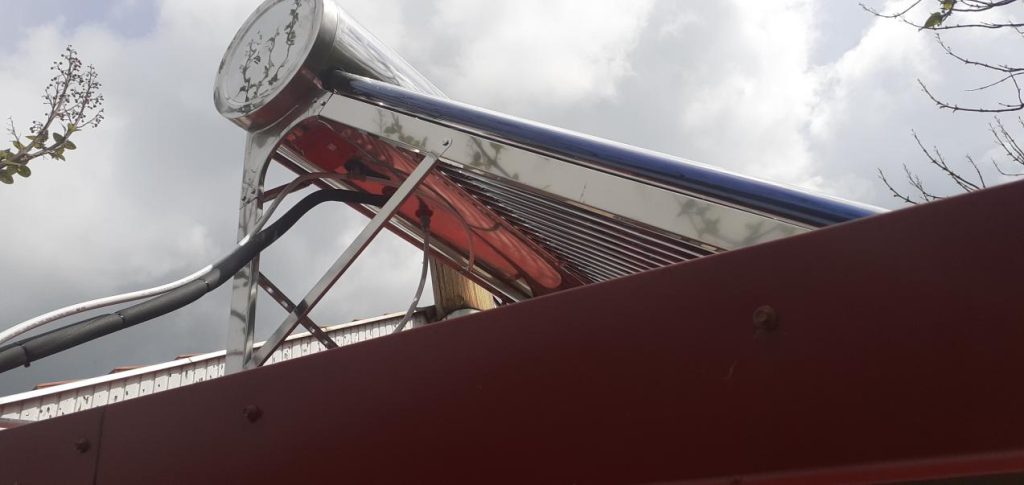
Power System: 2x 9000W Gasoline Generator.
Water delivered into 6x 1100L Tanks. 300 watt 120v pump to pump into trailer.
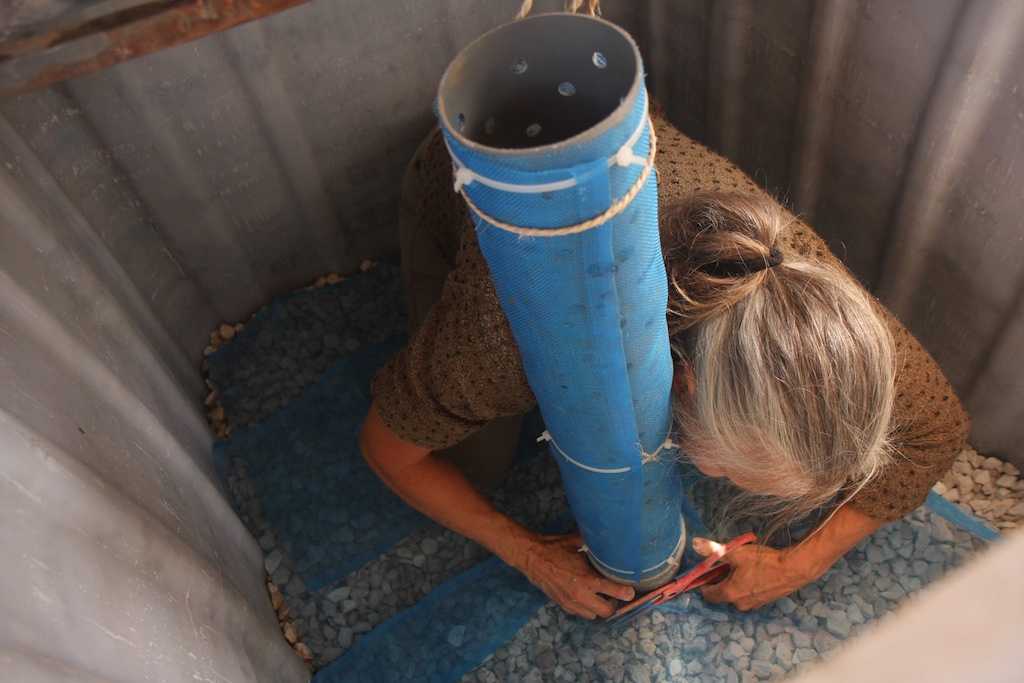
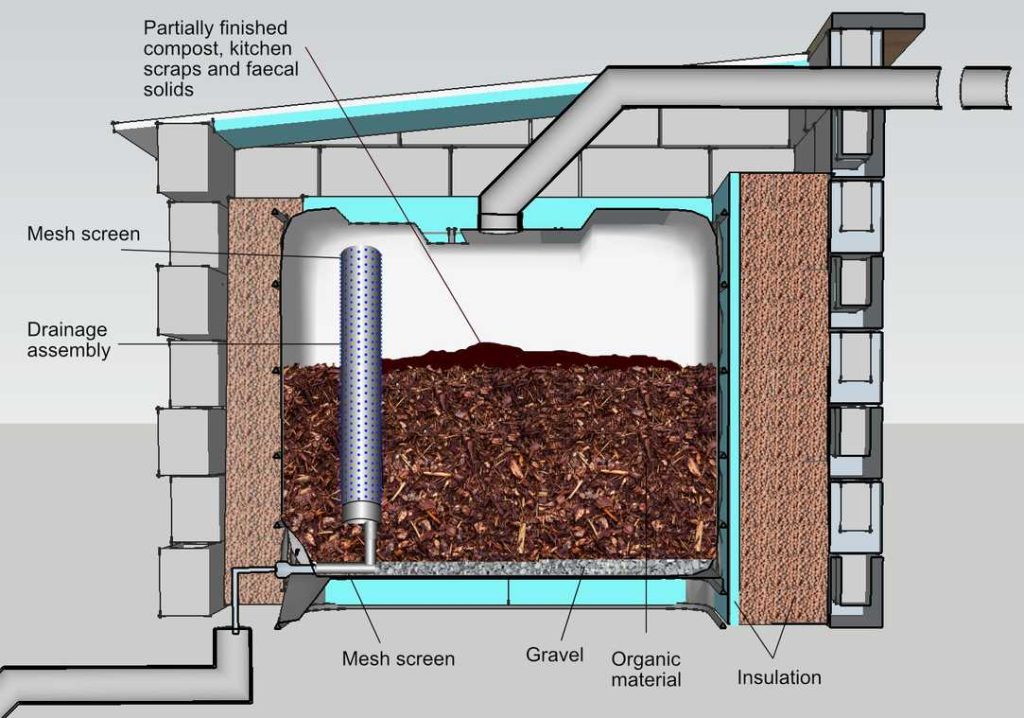
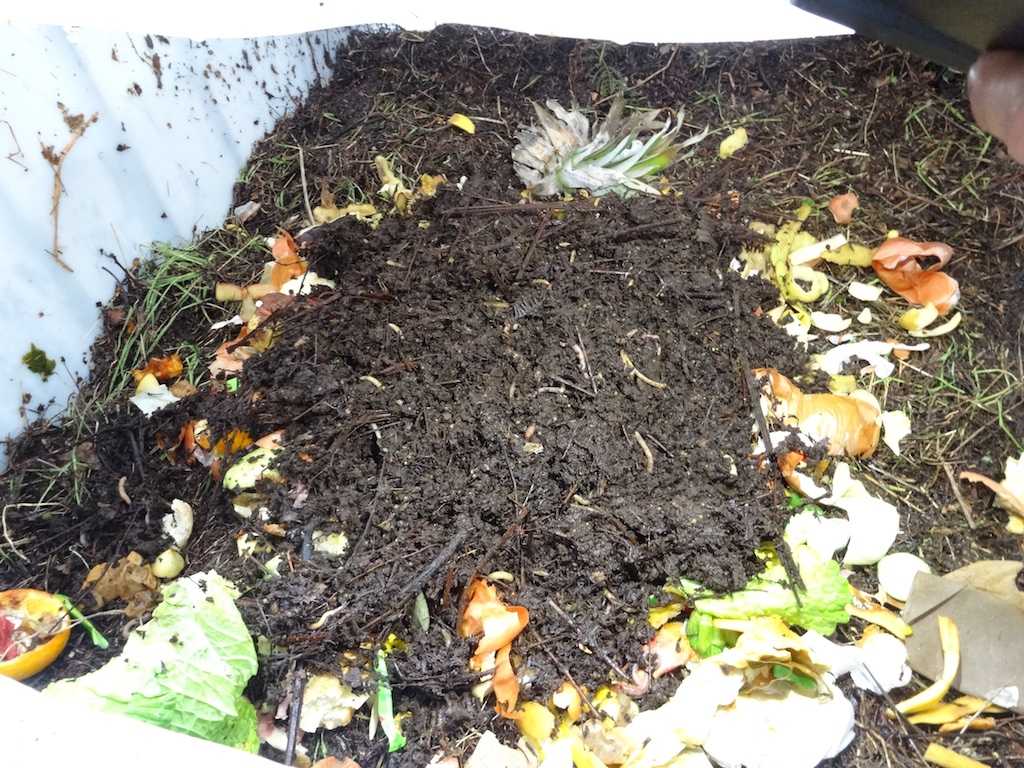
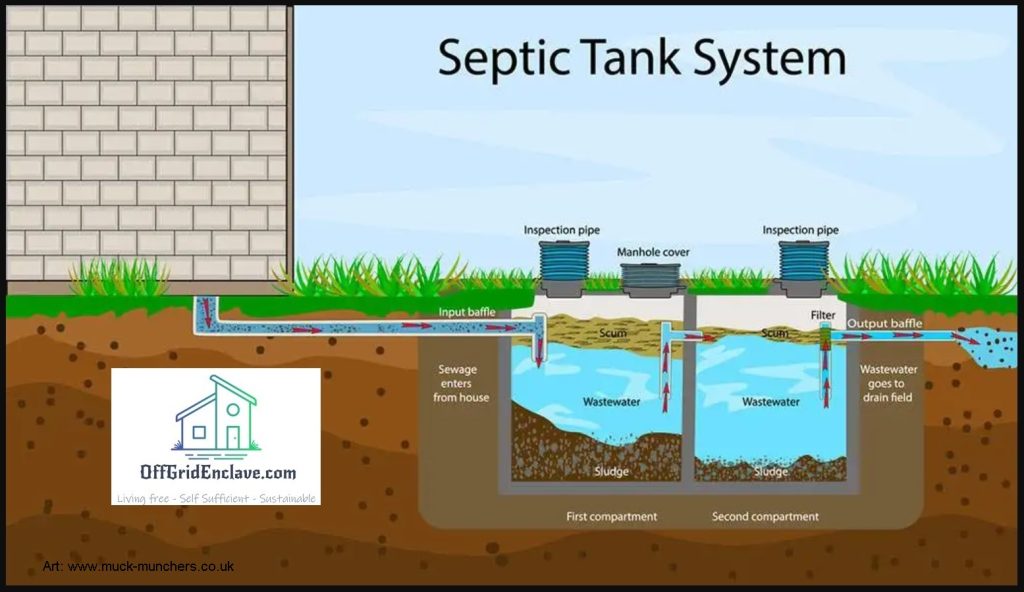
Toilet is Outdoor / Trailer toilet.
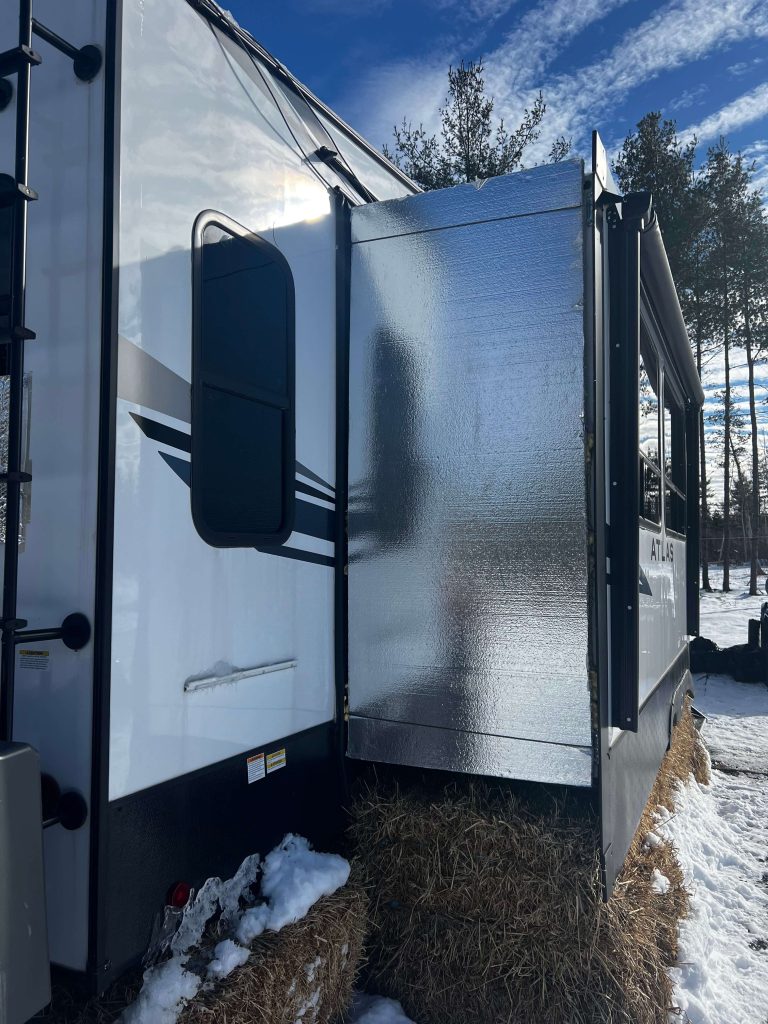
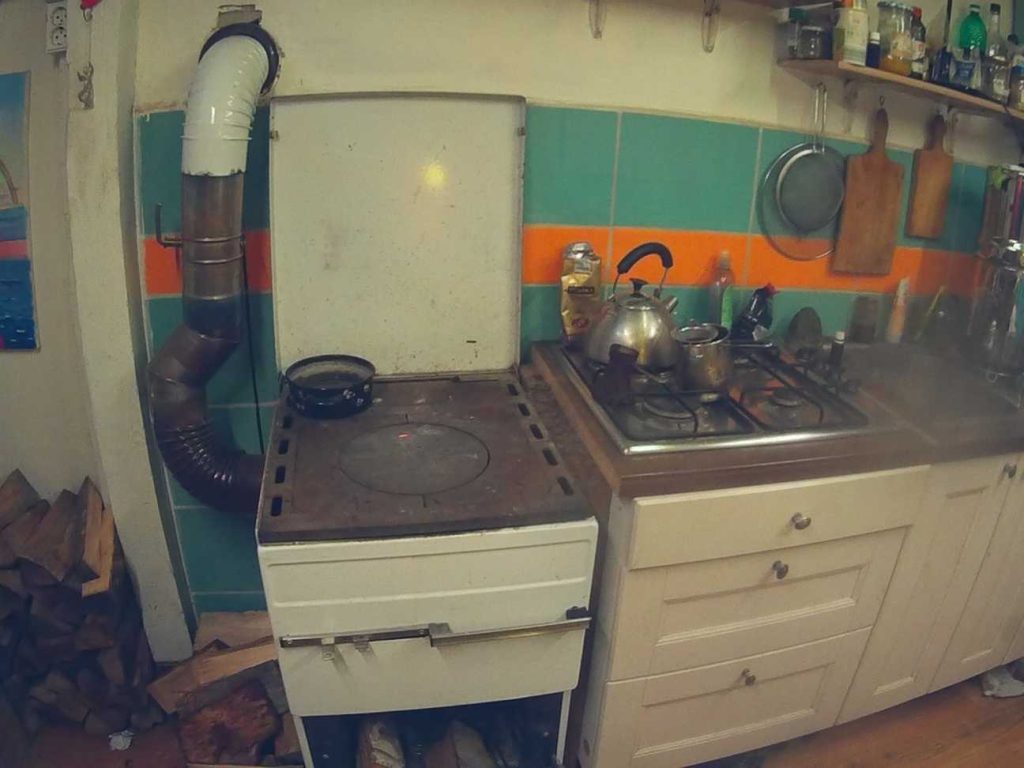
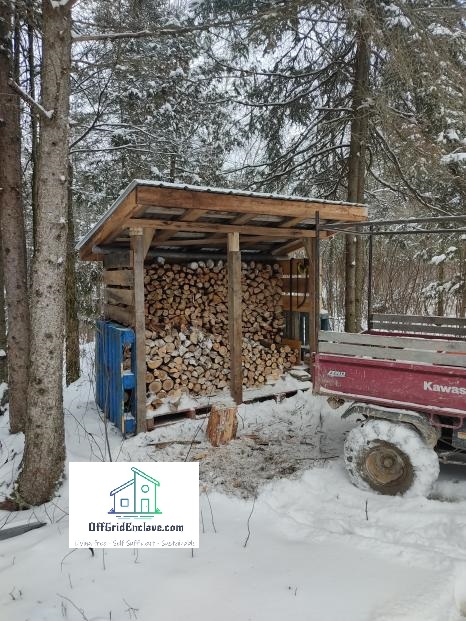
Heating 3 Kw Stove for wood logs .
Communications 200/50 Mbit Starlink Satelite Internet
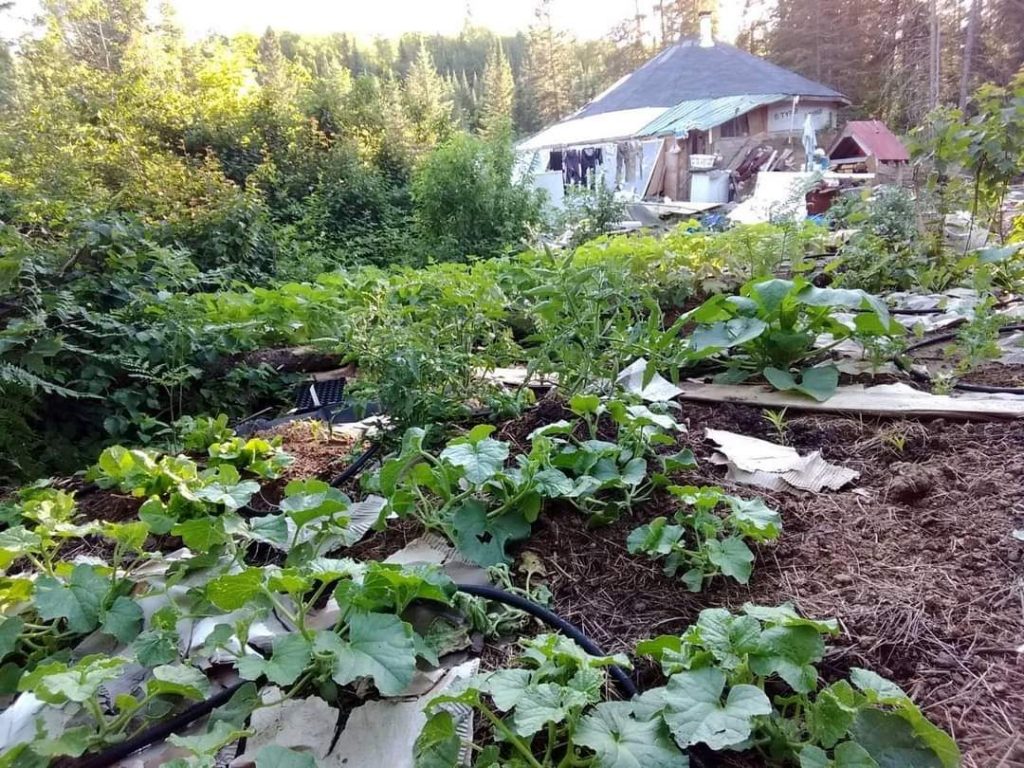
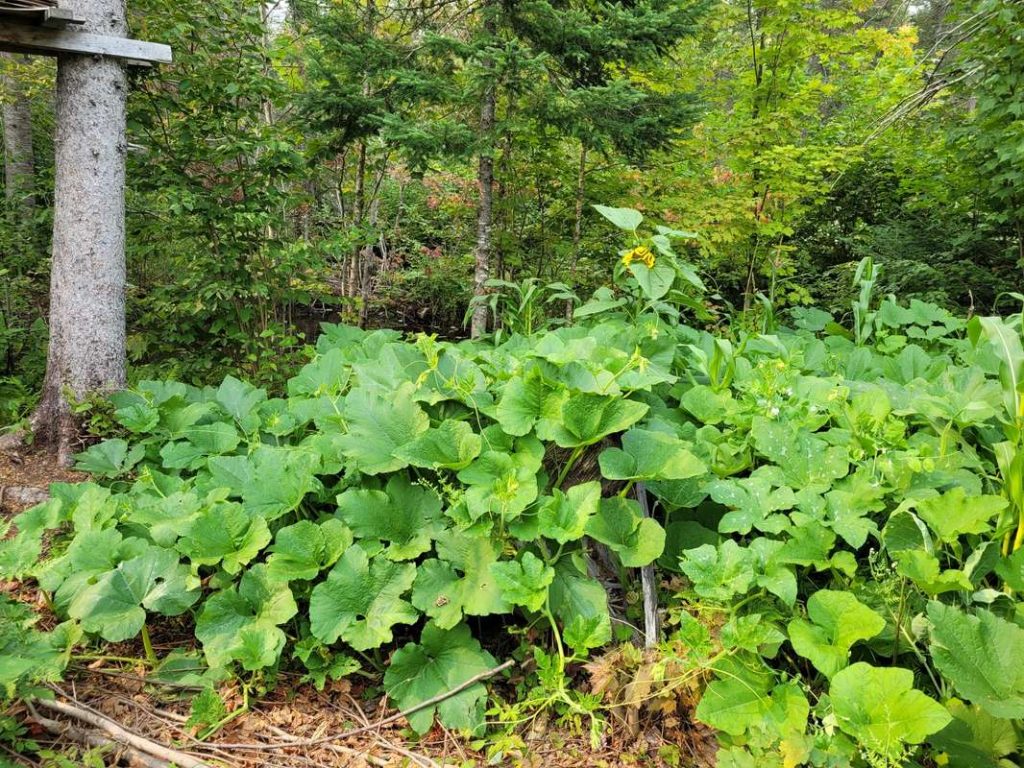
Food:
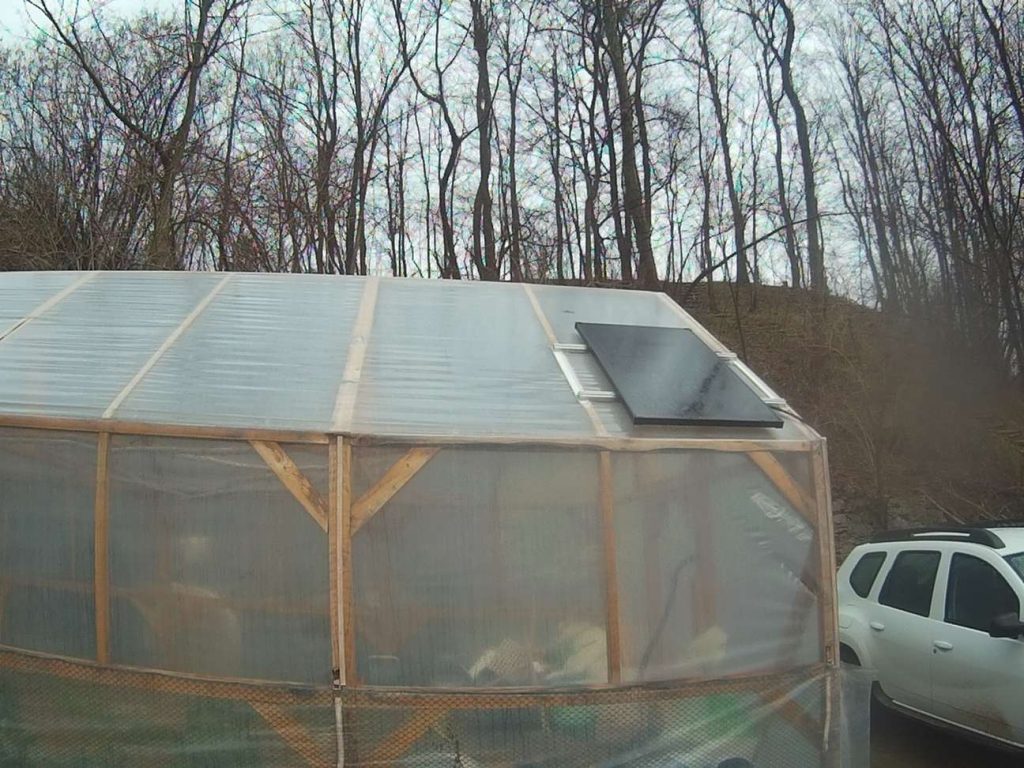
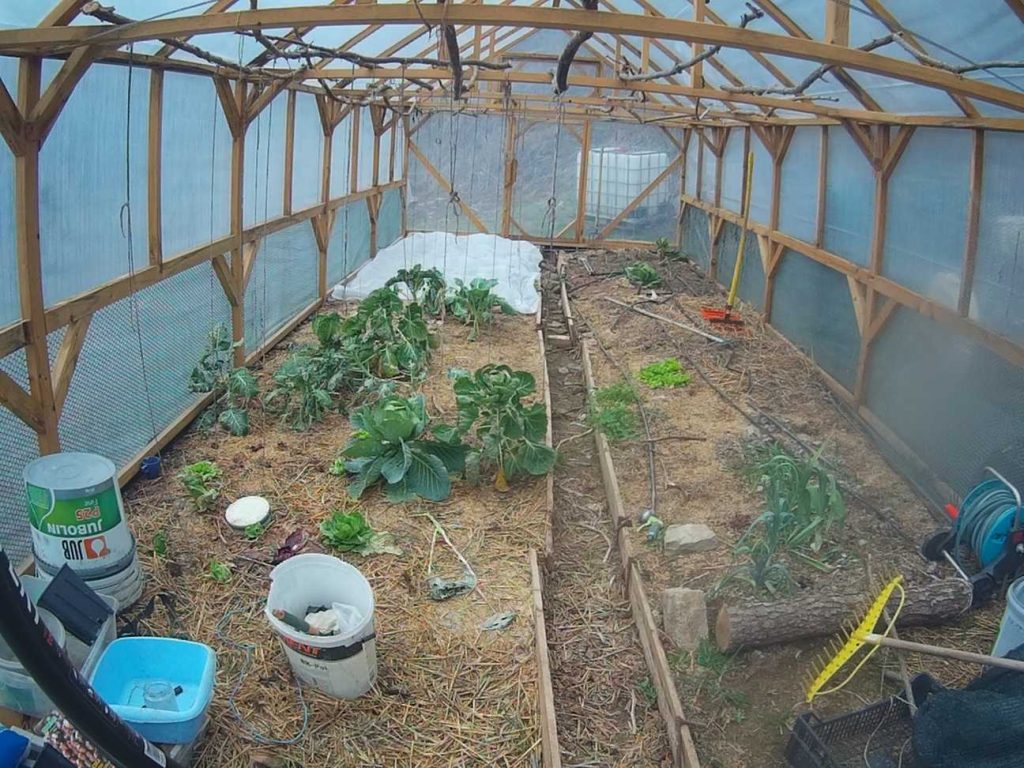
Vegetable garden coming this year, 6x 4ftx8ft beds
Local farming markets
Local supermarket.
If you have any questions or input feel free to join our community discord server.
See you there !